In the world of interior design, presenting quick and realistic concepts can often be a daunting task, especially when you're working on walls and floors. Luckily, using procreate interior design brushes can revolutionize how you visualize spaces. By mastering wall textures, floor textures, and incorporating room layouts and floor plans, you can bring your ideas to life seamlessly. In this blog post, we'll guide you through using Procreate on your iPad to concept spaces quickly, utilizing resources from Studio Brushes, such as their extensive brush sets and texture collections.
Canvas Setup and Scale
When starting a new project in Procreate, it's crucial to set up your canvas appropriately to ensure your designs are both accurate and scalable.
- Canvas Size: Start by setting your canvas dimensions based on the type of project you are working on. A 3000 x 4000 pixels canvas at 300 DPI is recommended for detailed work.
- Units: Make sure to use a measurement system that aligns with the scale of your designs – commonly, using inches or centimeters.
- Layers: Utilize multiple layers for different elements like floor plans, textures, and shadows to keep your design organized and editable.
Brushes and Settings
To achieve realistic textures and details in your designs, the right brushes are essential.
- Pro Studio Kit: This kit includes over 304+ brushes ideal for adding intricate texture to walls and floors. Explore it here.
- Siluette Brushset: For minimalist design lovers, the Siluette Brushset offers sleek options tailored to modern aesthetics.
Adjust brush settings like size, opacity, and grain to suit the specific texture or effect you're trying to create.
Using Room Layouts and Floor Plans
Having a clear and accurate room layout is the cornerstone of any design project.
- Floor Plans: Explore guides like Floor Plans in Procreate: Fast Room Layouts to streamline your process.
- Practical Layouts: Utilize premade 21+ floor plans from Studio Brushes. These starting points can help accelerate your design process.
Applying Wall & Floor Textures
Enhance your designs by applying realistic textures to walls and floors.
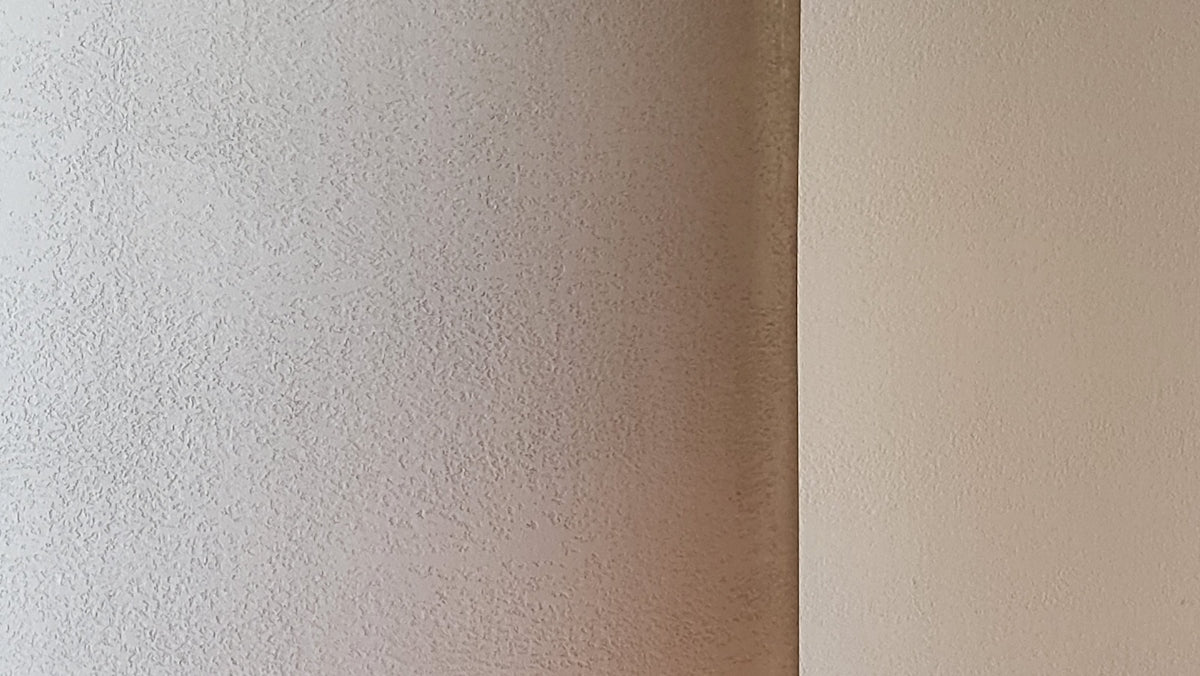
- Wall Textures: Use the 190+ wall textures available in the Studio Brushes collection to add depth and character.
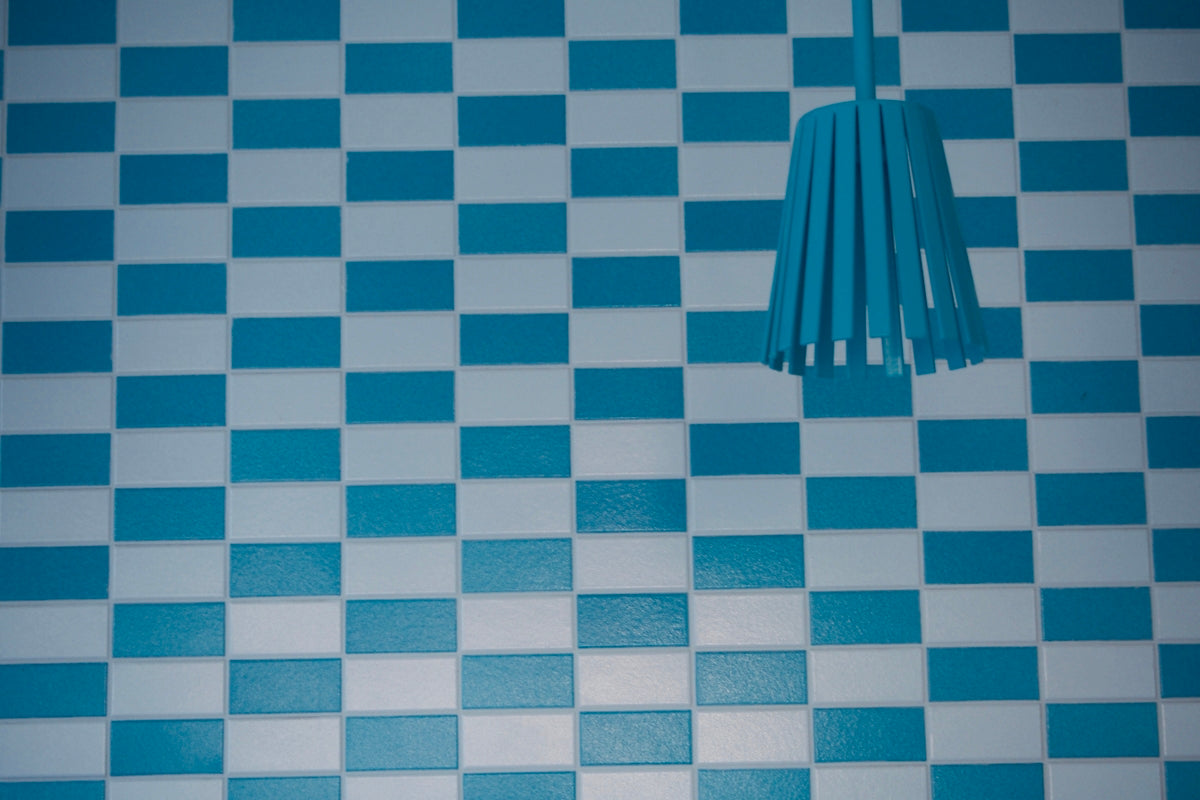
- Floor Textures: Similarly, apply comprehensive floor textures for materials like wood, stone, and tile.
Layer different textures to attain a more dynamic and authentic effect.
Furniture Blocks and Stamps
Design needs furniture to come alive, and using stamps can simplify this process.
- Furniture Stamps: These are perfect for quickly populating your layout with couches, tables, and chairs.
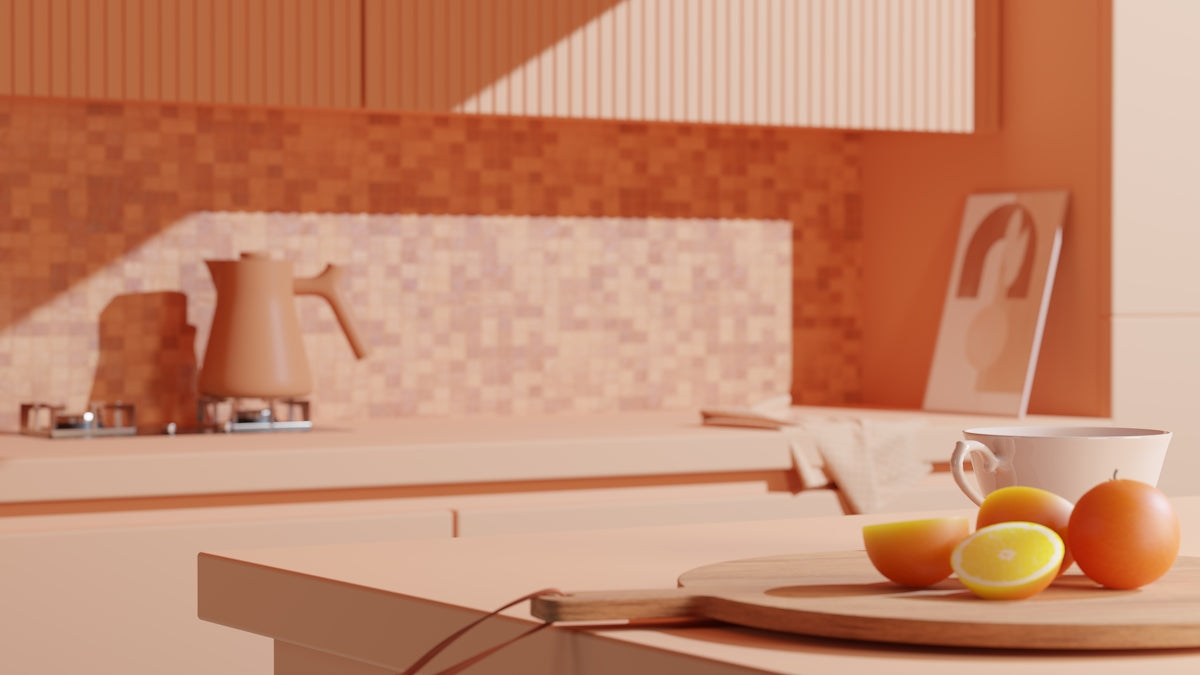
- Kitchen and Bathroom Blocks: Choose from specialized kitchen blocks and bathroom brushsets to detail these specific areas effectively.
Lighting and Shadows Pass
Lighting can dramatically change the perception of a space.
- Lighting Techniques: Use lighting brushes to simulate natural and artificial lighting effects.
- Shadow Effects: Add depth using shadow brushes, paying close attention to how light interaction affects different surfaces.
Presentation Boards and Export
Once your design is complete, it's time to present it professionally.
- Presentation Boards: Compile your designs into cohesive presentation boards.
- High-Quality Export: Export your work in high resolution to maintain detail when sharing with clients or on platforms.
Common Mistakes & Fixes
Even the best designers can encounter pitfalls. Here are a few common mistakes and how you can avoid them:
- Over-cluttering: Balance your design by focusing on essential elements rather than filling every space.
- Ignoring Scale: Double-check proportions and scales against real-world measurements.
- Inconsistent Texture: Ensure consistency in texture application across similar materials to avoid a jarring look.
Explore Master Procreate Interior Design Brushes for Stunning Rooms for more insights on creating harmonious designs and avoid these common errors.
Design Checklist
- Set your canvas size and resolution.
- Select the necessary brushes from the Studio Brush kits.
- Draft an accurate room layout or floor plan.
- Apply wall textures and floor textures methodically.
- Place furniture using stamps and blocks.
- Enhance with lighting effects and shadow passes.
- Compile into a presentation board.
- Export your final design in a high-resolution format.
FAQ
Q: How do I choose the right texture for my project?
A: Consider the overall theme and mood of your project. Use the extensive studios brush kits to match materials like wood or stone to your design needs.
Q: Can I use these brushes on multiple devices?
A: Yes, with the Lifetime Updates + Unlimited Devices purchase, you can access your brushes on multiple devices.
Q: Are there tutorials available for beginners?
A: Studio Brushes offers free video tutorials which are perfect for beginners to get started quickly.
For more incredible resources and brush sets, visit Studio Brushes. All our products come with a commercial license and require a simple one-time payment, ensuring that you have everything you need for stunning interior concepts.


Leave a comment
This site is protected by hCaptcha and the hCaptcha Privacy Policy and Terms of Service apply.